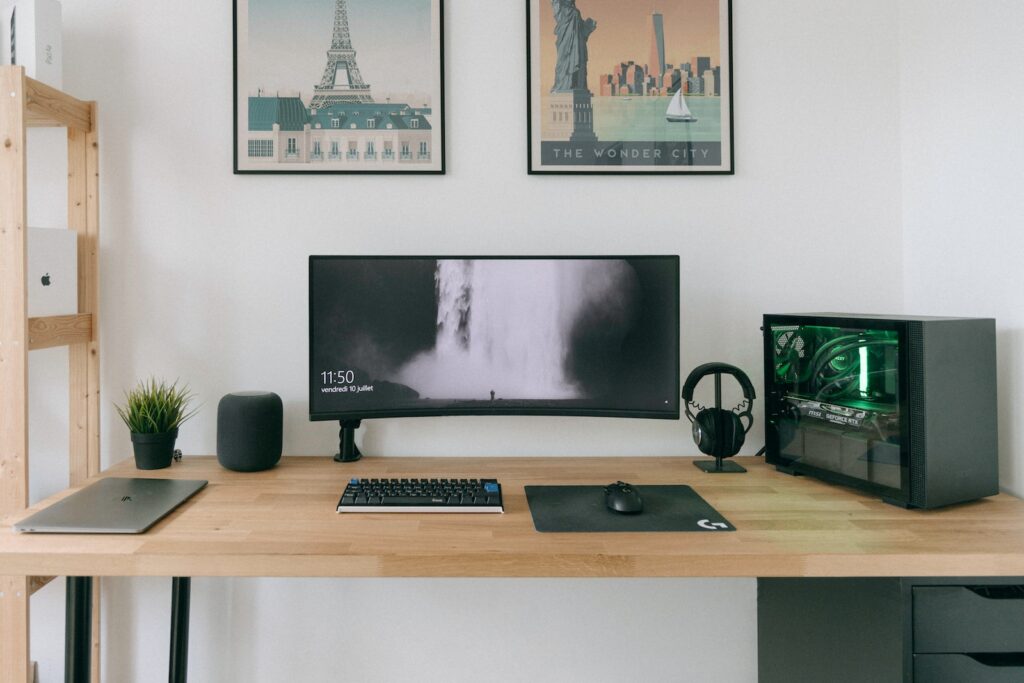
Building your own gaming PC can be an exhilarating and rewarding project. Not only does it allow for personal customization and optimization, but it also often results in a more cost-effective system. Here’s a step-by-step guide to help you build a custom gaming PC, with recommendations for hardware, software, and troubleshooting common problems.
Step 1: Define Your Gaming Goals
Determine what games and software you intend to run. Different games require varying levels of performance, so decide whether you need a high-end machine or something more modest.
Step 2: Set a Budget
Your budget will significantly influence your choices of components. Make a realistic assessment of what you can afford, keeping in mind that investing in key components like the GPU can significantly impact your gaming experience.
Step 3: Choose Your Components
A. Processor (CPU)
- Budget Choice: AMD Ryzen 5
- High-End Choice: Intel Core i9
B. Graphics Card (GPU)
- Budget Choice: NVIDIA GeForce GTX 1660
- High-End Choice: NVIDIA GeForce RTX 3080
C. Memory (RAM)
- Minimum: 8GB
- Recommended: 16GB or more
D. Storage
- SSD for OS: At least 250GB
- HDD for Games: 1TB or more
E. Power Supply
Choose a PSU that offers more power than your total system requirement.
F. Motherboard
Make sure it’s compatible with your CPU, RAM, and other components.
G. Cooling System
- Air Cooling: More affordable
- Liquid Cooling: More efficient but pricier
H. Case
Ensure that it’s big enough to fit all components and allows for good airflow.
Step 4: Assemble Your PC
A. Prepare Your Workspace
Ensure a clean, static-free environment.
B. Install the CPU
Carefully align and place it in the motherboard socket.
C. Install the Cooler
Apply thermal paste if necessary, and attach the cooler.
D. Install RAM
Place RAM in the corresponding slots.
E. Install Storage
Connect SSD and HDD to the motherboard.
F. Install GPU
Insert it into the appropriate PCIe slot.
G. Connect PSU
Connect all power cables to the respective components.
H. Manage Cables
Neatly route cables for better airflow.
Step 5: Install the Operating System
You can choose between various versions of Windows or a Linux distribution. Follow the on-screen instructions for installation.
Step 6: Install Drivers
Update all necessary drivers for your GPU, motherboard, and other components.
Step 7: Troubleshooting
Common problems include:
- No Display: Check GPU and monitor connections.
- No Power: Verify PSU connections.
- Overheating: Confirm proper cooler installation and thermal paste application.
Conclusion
Building your custom gaming PC can be a thrilling and satisfying experience. By selecting the right components for your needs and following this guide, you’ll have a powerful and personalized machine that’s tailored to your gaming desires.
Remember, the world of PC components is always evolving, so keep an eye on the latest trends and technologies. Enjoy the process, and happy gaming!


