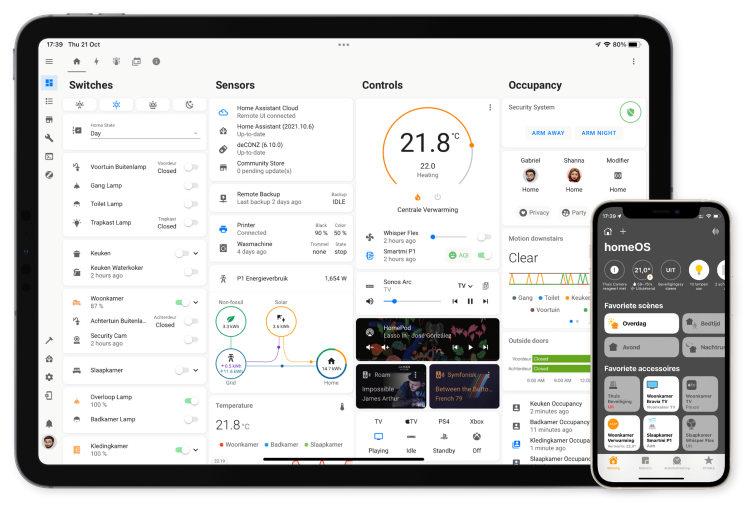
Home automation is all about seamless integration. The ability to have different devices from different brands communicate with each other makes for an interconnected smart home ecosystem that can automate tasks and optimize your living environment. Today, we’ll explore how to integrate accessories into Apple’s HomeKit using the open-source platform, Home Assistant.
What is HomeKit?
Apple’s HomeKit is a framework for home automation, designed to connect and control smart home products with your iOS devices. HomeKit offers a centralized platform and user-friendly interface, allowing users to control everything from lights and thermostats to smart locks and security cameras, all through the Home app or by simply asking Siri.
The Power of Home Assistant
While HomeKit offers native support for many smart devices, some are left outside the Apple ecosystem. This is where Home Assistant comes in. Home Assistant is a robust, open-source home automation platform that supports thousands of components, including those not natively supported by HomeKit.
Integrating Devices into HomeKit using Home Assistant
With Home Assistant, devices unsupported by HomeKit can be integrated into the HomeKit environment. The HomeKit integration in Home Assistant makes this possible by acting as a bridge between the two ecosystems, essentially emulating the HomeKit protocol.
Steps for Integration
- Setup Home Assistant: First, you’ll need to install and set up Home Assistant on a device within your network. This could be a Raspberry Pi, a NAS, or a PC. Once installed, Home Assistant operates as a web-based application, accessible via a web browser on your network.
- Install HomeKit Integration: Within Home Assistant, navigate to the integrations page in the configuration menu. Here, search for HomeKit, and follow the instructions to install the integration.
- Add Devices: Now that the HomeKit bridge is installed in Home Assistant, you can start adding your devices to Home Assistant. The platform supports a massive list of devices; check out the Home Assistant documentation for detailed guides on adding specific devices.
- Expose Devices to HomeKit: Once your devices are added to Home Assistant, you can expose them to HomeKit through the HomeKit integration. The process may vary depending on the device, but generally, you will specify which devices to expose in the HomeKit configuration page.
- Add to Home App: Back on your iOS device, open the Home app, click the “+” button to add an accessory, then choose the option to add a device using a code. Your Home Assistant bridge should appear in the list of nearby devices. Select it, enter the eight-digit HomeKit code that Home Assistant provides, and your devices will be added to HomeKit.
The Potential of Home Assistant and HomeKit
Integrating HomeKit with Home Assistant expands the capabilities of your smart home, breaking down brand barriers and creating a truly interconnected ecosystem. Whether you’re using smart lights that aren’t natively supported by Apple, or you’ve built your own homebrewed devices, Home Assistant can bridge the gap between these devices and HomeKit.
Home Assistant doesn’t just add unsupported devices to HomeKit; it also brings powerful automation capabilities. You can create complex automation rules based on time, location, device status, and even other devices.
Conclusion
The versatility of Home Assistant coupled with the user-friendly and secure environment of Apple’s HomeKit makes for a powerful home automation setup. Through this integration, you can make the most out of your smart devices and create a home that’s truly smart, offering convenience, safety, and energy efficiency.


